Licensed Pool Contractor: What to Check Before You Hire
July 9, 2026
Pool Builder Reviews: What Gainesville Homeowners Miss
July 9, 2026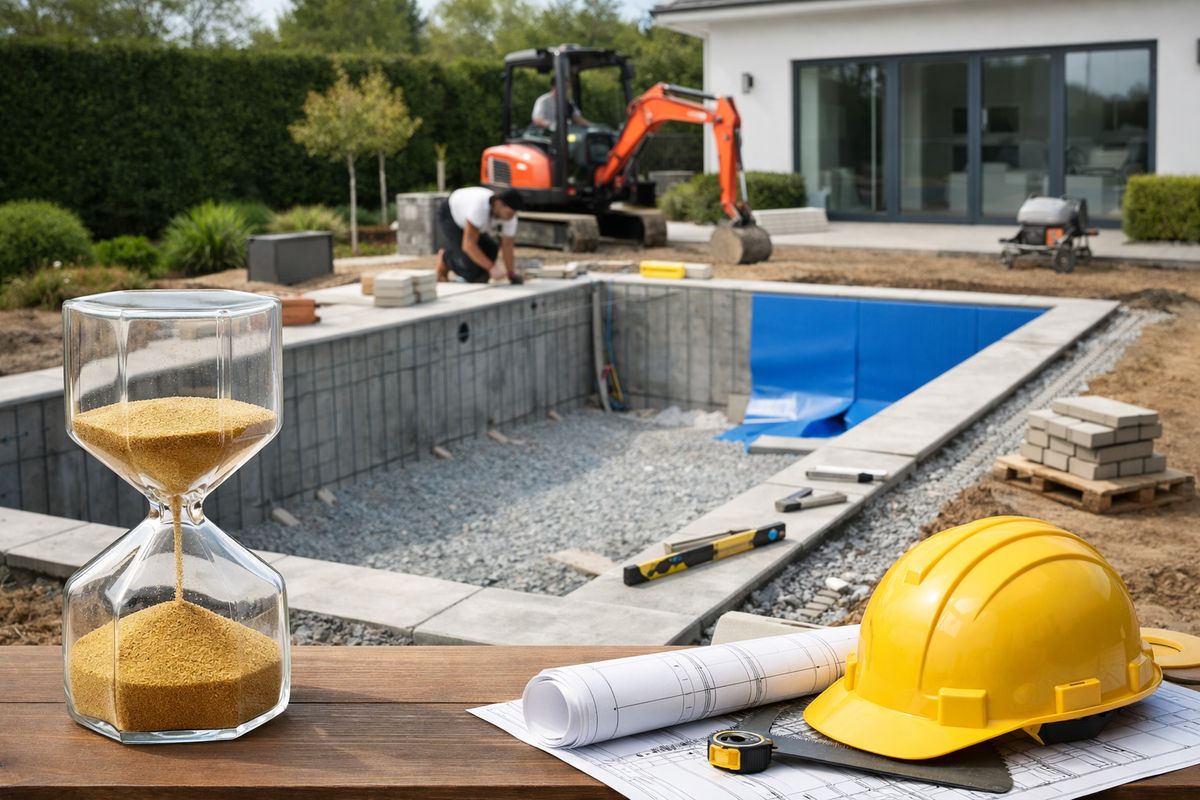
If you’ve been picturing a pool appearing a few weeks after the first truck shows up, that’s the part that throws almost everyone off. When you ask how long to build a pool, the real answer in Gainesville usually starts well before dig day, and it includes design, permits, inspections, weather delays, and the final startup.
What “how long to build a pool” usually means in Gainesville
Most homeowners mean one thing: how long from the first serious conversation to the first swim. That is the right way to think about it, because excavation is only one slice of the full job.
In Gainesville, a custom inground pool often takes anywhere from about 8 to 16 weeks in a smoother project, and longer if permits drag, storms roll through, or the yard has access problems. Planning and approvals can take as much time as construction itself. That surprises people, but it shouldn’t. A pool is not like dropping in a shed. It is more like building a small outdoor structure with plumbing, electrical, concrete, drainage, and safety requirements all tied together.
What you’ll need before your pool timeline can start
Your schedule does not really begin until a few basics are in place. You need a working budget, a rough idea of pool size and shape, a sense of where it will sit in your yard, and any HOA rules that could affect layout, fencing, or screening.
If money is still fuzzy, lock that down early. Financing questions slow design decisions fast, and that can push everything back before paperwork even starts. If needed, get familiar with ways homeowners usually fund a build before you start comparing designs.
Property details to gather first
A recent property survey helps a lot. So do lot dimensions, utility locations, septic information, easements, and a clear look at backyard access. If your pool builder has to stop and wait for basic site facts, the whole process gets choppy.
The trick is to gather anything that explains where the pool can and cannot go. Setbacks, buried lines, and septic drain fields matter right away. So does the width of the side yard if equipment needs to pass through it.
Decisions that affect timing right away
Some choices speed things up. Others quietly add weeks. Concrete pools usually take longer than fiberglass because of steel work, shell application, curing, and finish stages. Add-ons like a spa, screen enclosure, larger deck, water feature, or outdoor kitchen can also stretch the schedule before construction begins because the design and permit set becomes more complex.
Step 1: Start with design and builder selection
This is where the real clock starts. Picking a builder and locking the design sets every step that follows, from permit drawings to material orders to crew scheduling.
- Shortlist a few builders that regularly work in Gainesville.
- Review licenses, insurance, and project photos.
- Ask for a realistic timeline, not a best-case fantasy.
- Compare how clearly each builder explains the process.
- Choose the design direction and move into plans.
If you want a sharper filter before signing anything, spend a little time on what to check before hiring for a build like this.
Compare builders, availability, and communication
A builder’s backlog matters as much as build quality. You can love a design, but if the calendar is already packed for three months, your pool is not starting soon.
Communication matters just as much. Fast replies, clear updates, and specific scheduling language are good signs. Vague answers like “soon” or “after permits” without details usually become frustrating later. It also helps to scan the review details homeowners often overlook before making a final choice.
Finalize the pool design and features
Once the layout is drawn, finish the decisions that affect permits and ordering: depth, steps, tanning ledge, lighting, interior finish, tile, coping, equipment, and automation. Here’s the thing, every undecided feature can slow the next stage.
A clean plan moves faster through approvals. A half-finished plan gets revised, resubmitted, and revisited. That is where weeks disappear.
Step 2: Get permits, approvals, and paperwork cleared
Permits often take longer than expected. In some cases, this phase feels like nothing is happening, even though it is the part that unlocks everything else.
- Submit construction plans and site details.
- Confirm which local authority reviews the job.
- Provide any requested corrections or revisions.
- Secure HOA approval if your neighborhood requires it.
- Wait for permit release before scheduling major site work.
Check local permit timelines in Gainesville, FL
Timing can differ depending on whether your address falls under City of Gainesville or Alachua County rules. That difference matters because review queues, correction requests, and inspection scheduling can vary.
The practical takeaway is simple: permit timing is not a fixed number. Some move through cleanly. Some need revisions because of setbacks, drainage, barrier rules, or incomplete site plans.
Handle HOA and neighborhood requirements
HOA approval can be a sneaky delay. If fence details, screen plans, setbacks, or material notes are missing, the review can stall even when the local permit packet is ready.
That small paperwork snag can hold up a very big project. If your neighborhood has an approval process, treat it like a real phase, not an afterthought.
Step 3: Prepare the yard and mark the layout
Before digging starts, the site has to be made ready. That includes utility marking, access planning, layout verification, and protecting anything in the yard that should stay intact.
- Mark underground utilities.
- Confirm the pool footprint in the yard.
- Clear access paths for equipment.
- Protect nearby landscaping or hardscape.
- Check drainage and grading conditions.
Confirm access for excavation equipment
This part gets overlooked all the time. A side yard can look fine on paper but still be too tight once fences, trees, HVAC units, or septic components are in the way.
Sometimes getting equipment into the backyard is like moving a couch through a hallway that looked wider in the listing photos. If access is narrow, extra labor or smaller machines can slow the job.
Watch for drainage and soil concerns
North Florida yards can get soggy fast. If your property holds water after a heavy Gainesville afternoon storm, site prep and excavation can slow down in a hurry.
Poor drainage also affects grading around the finished pool. You do not want water moving toward the shell or settling around the deck later, so this is worth getting right upfront.
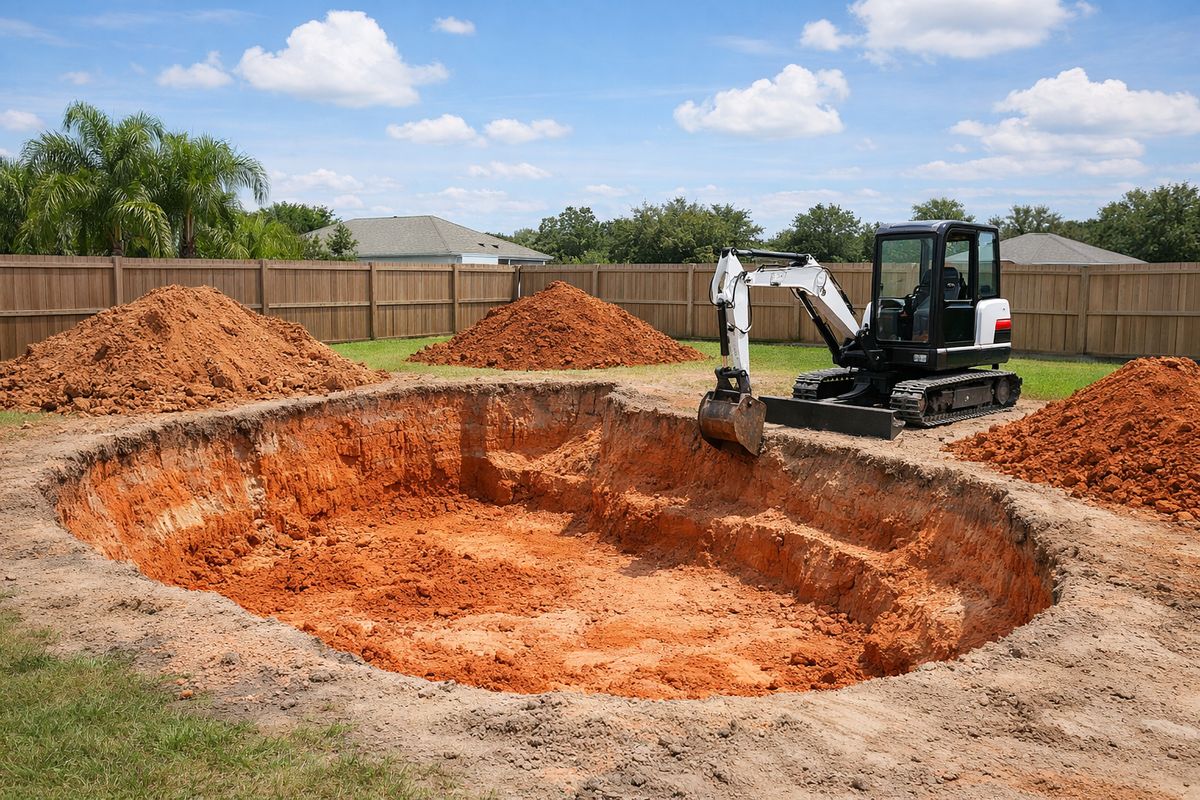
Step 4: Excavate the pool shell
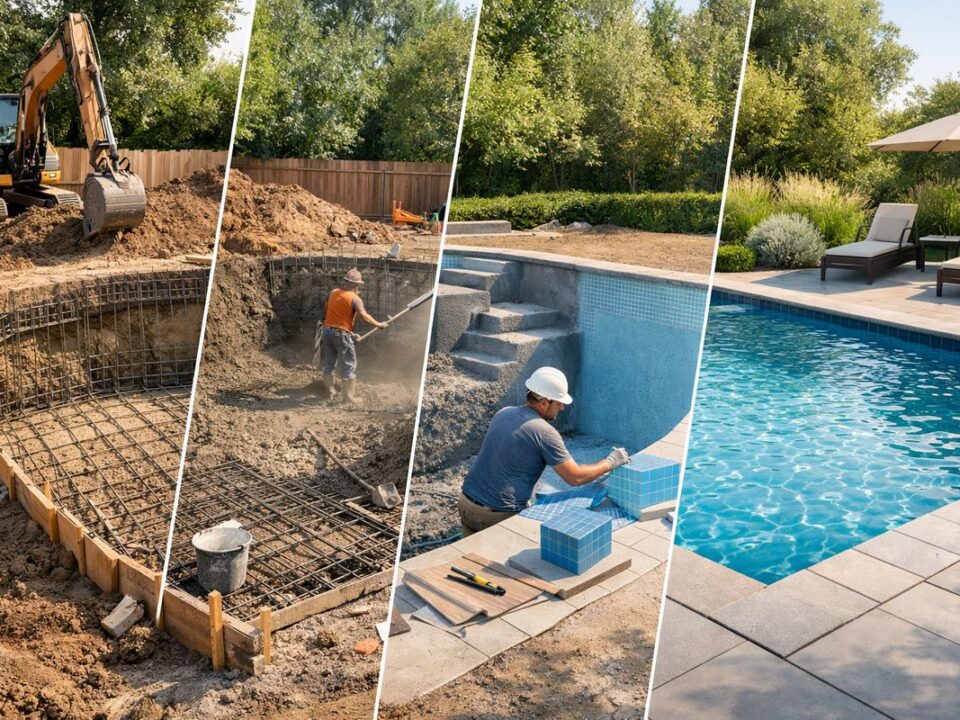
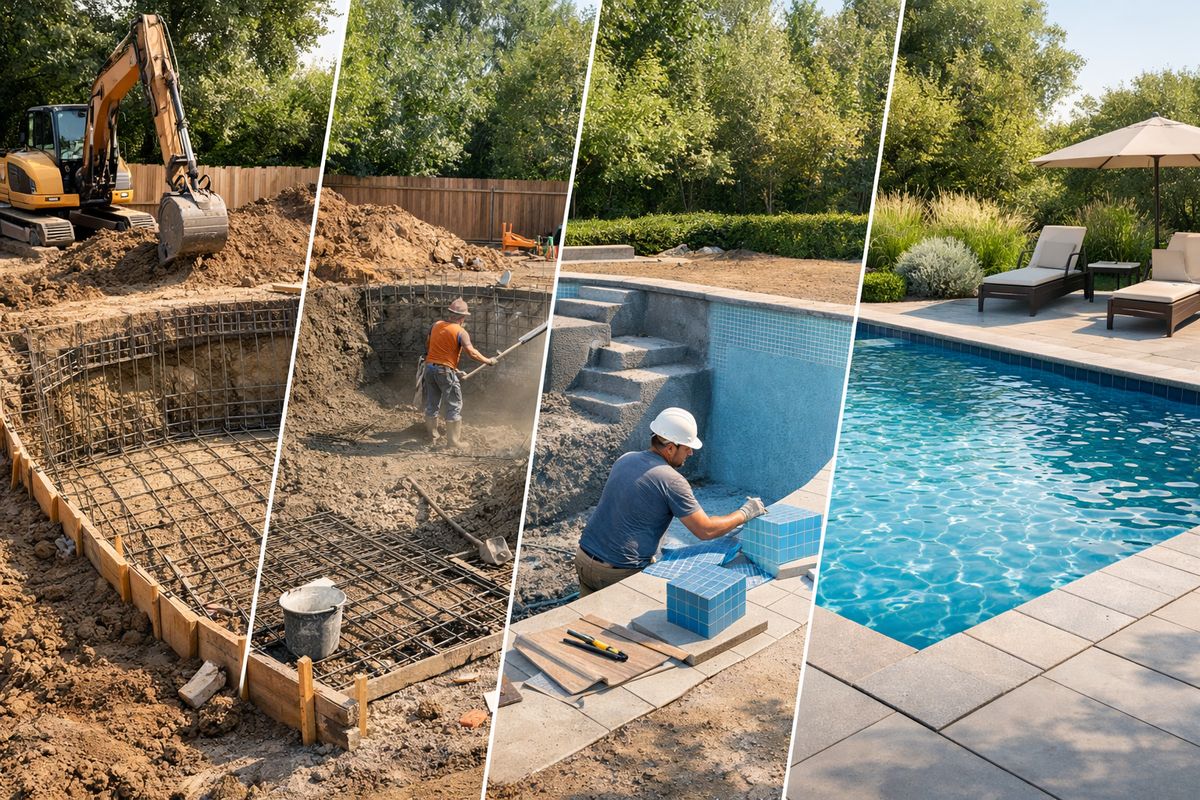
Excavation is the dramatic part, and it usually happens quickly once crews are on site. In many cases, the dig itself takes one to three days.
- Mark the final pool outline.
- Bring in excavation equipment.
- Cut and shape the hole.
- Remove or relocate excavated soil.
- Check depth and dimensions.
What happens on dig day
The crew cuts the shape, pulls out dirt, and refines the pool profile to match the approved plan. By late afternoon, your yard can look completely different, which is the moment the project finally feels real.
This stage moves fast because it has to. Once the shape is open, the next trades need accurate dimensions to continue.
Why excavation can take longer than expected
Rain is the biggest spoiler, but not the only one. Buried debris, stubborn roots, groundwater, rocky spots, or tight machine access can all slow the pace.
If you want a fuller view of how these phases connect, it helps to see how each construction stage stacks together.
Step 5: Install steel, plumbing, and electrical
After excavation, the pool stops being a hole and starts becoming a system. This phase often takes one to three weeks, depending on complexity and inspection timing.
- Set rebar for the shell structure.
- Run plumbing for circulation and drainage.
- Install electrical conduit for lights and equipment.
- Place bonding and safety components.
- Schedule inspections before covering work.
Set the steel framework
For a concrete pool, steel rebar forms the structural skeleton inside the excavated shape. It gives the shell strength and helps the finished pool hold its form long term.
This stage often needs an inspection before the next crew can move forward. If the local inspection schedule is busy, a short pause here is normal.
Run plumbing lines and electrical components
Plumbing includes skimmers, which pull in surface water, returns, which send filtered water back, and main drains, which help circulation from the bottom. Electrical work covers lights, equipment connections, and bonding, which reduces shock risk by tying metal parts into a safety system.
It sounds technical, but the point is simple: this is the hidden infrastructure that makes the pool actually work.
Schedule required inspections
Inspections can create small stop-and-go gaps. That is frustrating when the yard looks ready, but it is a normal part of the process. Passing each checkpoint protects you from bigger problems later.
Step 6: Shoot gunite or install the pool shell
This is the stage where the pool takes final shape. For many custom pools in Gainesville, that means gunite or shotcrete. Fiberglass follows a different path and is often faster.
- Prepare the shell area for installation.
- Apply gunite or set the fiberglass shell.
- Complete backfilling or shell shaping.
- Allow curing or stabilization time.
- Confirm readiness for finish work.
If your pool is gunite or shotcrete
Gunite or shotcrete can be applied in a day, which sounds fast because it is. The catch is that curing takes longer, and that is what keeps the project from moving like a weekend patio job.
During curing, the shell gains strength and settles into its long-term form. Rushing past that point is a bad idea, plain and simple.
If your pool is fiberglass
A fiberglass shell can shorten the build because the structure arrives pre-formed. Even so, the job still needs excavation prep, setting, plumbing hookups, backfilling, and inspections.
So yes, fiberglass is often quicker, but it is not instant.
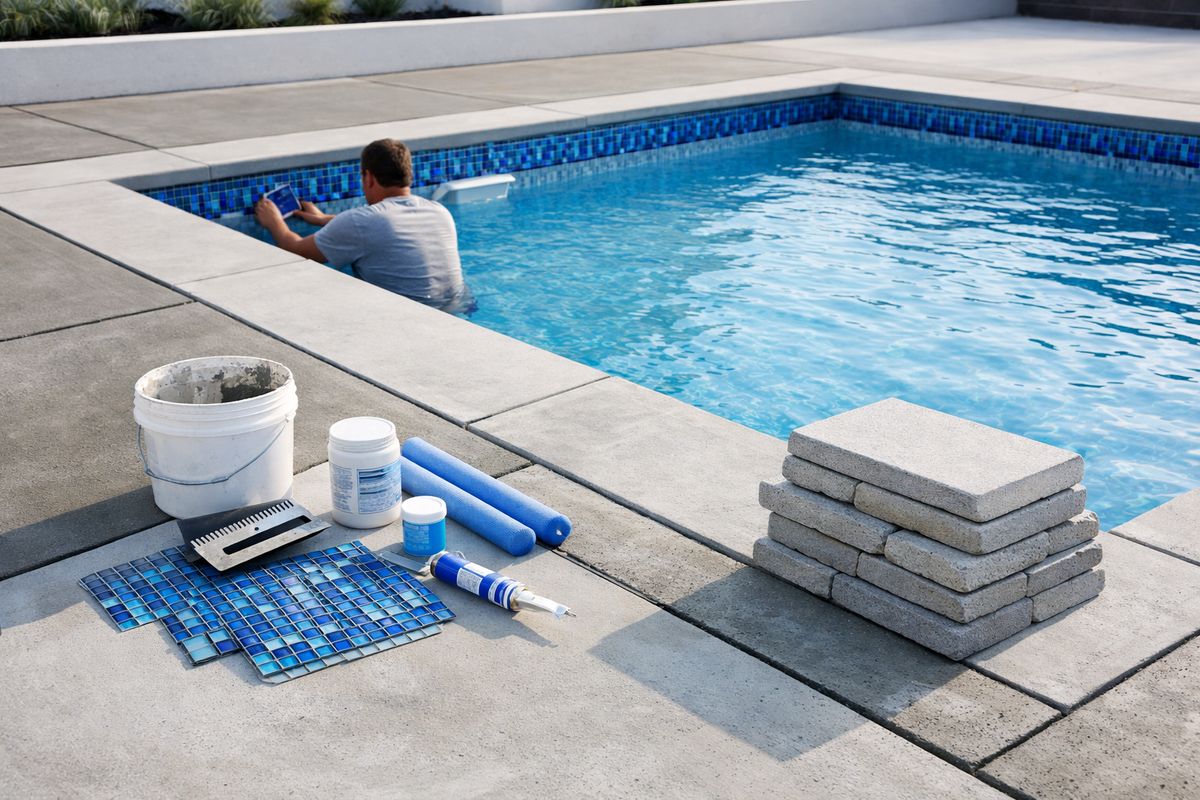
Step 7: Add tile, coping, decking, and finish details
This is the stage that makes the project finally look like a pool instead of a worksite. It often takes one to three weeks, depending on materials, weather, and extras.
- Install tile at the waterline or raised features.
- Add coping around the pool edge.
- Pour or place decking.
- Install selected upgrades.
- Prep the site for interior finish.
Install tile and coping
Tile usually sits at the waterline or on raised walls. Coping is the finished edge around the top of the pool. Both affect the look more than most people expect.
Custom choices can slow this stage if materials are special-order or backordered. That is one reason early selections matter.
Pour or place the pool deck
Decking might be poured concrete, pavers, or another surface. Weather matters here more than people think because rain can interrupt prep, placement, and curing.
Bigger deck layouts also raise labor and scheduling needs. If you’re weighing upgrades, it helps to understand what tends to push pool pricing up fast.
Add extras like screens, spas, or water features
A spa spillway, screen enclosure, automation package, fire bowls, or outdoor kitchen can extend the schedule beyond the base pool build. Not always by a lot, but enough to matter.
The more trades involved, the more chances for timing gaps between phases.
Step 8: Apply the interior finish and fill the pool
This is the final construction push. Once the interior surface goes in, the pool starts looking done, but startup still matters.
- Apply the selected interior finish.
- Begin filling the pool immediately.
- Avoid stopping the fill midway.
- Protect the fresh surface during startup.
- Prepare for water balancing and equipment checks.
Choose the interior surface
Plaster, pebble, and similar finishes vary in look, texture, and startup care. Some install quickly but need careful early brushing and chemistry control.
The finish choice can affect the final few days more than the total project length, but it still matters.
Fill the pool the right way
Once filling begins, it should continue until the water reaches the proper level. Stopping halfway can leave a visible ring or affect the fresh surface.
This is one of those last-day details that seems small and really isn’t.
Step 9: Start up the system and pass final inspections
Now you are at the point people actually care about: when you can swim. Usually, that comes after startup, water balancing, and final approval.
- Turn on and test all equipment.
- Verify water circulation and lighting.
- Balance the chemistry.
- Complete final inspection.
- Go through the builder handoff.
Test equipment and circulation
The pump, filter, heater, lights, valves, and automation all need a proper check. Startup makes sure water moves correctly, drains and returns behave as expected, and controls work the way you were promised.
Balance the water and learn basic care
Fresh pool water needs chemistry adjustment right away. That means getting sanitizer, pH, and other levels into a safe range so the surface, equipment, and swimmers are protected.
After handoff, staying ahead of care matters even more in Florida heat. A simple follow-up is learning how hot Gainesville weather changes regular upkeep.
Complete final inspection and handoff
Final approval closes out the build. During the walkthrough, you should learn basic operation, cleaning cycles, and what to watch over the first few weeks.
That handoff is your checkpoint. If the system is running, the water is balanced, and approval is complete, you are very close to the first swim.
Typical pool timeline by phase
When each small phase is stacked together, the full answer gets clearer. Design and builder selection often takes 1 to 3 weeks. Permits and approvals can take 2 to 6 weeks. Site prep and excavation may take about 1 week total. Steel, plumbing, and electrical often take 1 to 3 weeks. Shell installation may take a few days plus curing time. Finishes, decking, and final startup usually add another 2 to 4 weeks.
A fast-track timeline
A quicker project might finish in about 8 to 10 weeks. That usually means fast decisions, clean permits, easy yard access, no HOA snags, and decent weather.
A more realistic Gainesville timeline
A more common Gainesville schedule is closer to 10 to 16 weeks, sometimes longer. Normal pauses for inspections, summer rain, crew scheduling, and material lead times are enough to stretch the calendar.
Common delays that can slow your pool build
Most delays come from repeat issues, not dramatic disasters. Once you know the usual suspects, the timeline feels less mysterious.
Rain and stormy weather
Wet soil, lightning, and repeated rain days can interrupt excavation, decking, and finish work. Gainesville weather can turn a solid work week into a muddy waiting game fast.
Permit or inspection bottlenecks
Paperwork delays and crowded inspection schedules can stall progress between phases. Sometimes the site is ready, but the project still has to wait for sign-off.
Change orders after construction starts
Late changes to shape, finishes, deck size, or features create ripple effects. Materials get reordered, plans get updated, and crews get rescheduled.
Material shortages or special-order finishes
Tile, coping, pavers, and certain equipment packages are common hold points. A ready jobsite does not help much if the selected finish is still in transit.
Troubleshooting: Why is your pool build taking longer than expected?
When the schedule starts slipping, the best move is to get specific. Vague updates create more stress than a clear delay ever does.
Ask for the current phase and next scheduled trade
One simple question clears up a lot: what phase is complete, and which crew is scheduled next? That tells you if the project is truly stalled or just between trades.
Check what is waiting on approval, weather, or materials
Try to narrow the delay to one category. Is it permit-related, inspection-related, weather-related, or material-related? Once you know that, the wait feels more explainable, and in some cases, more fixable.
Know when a delay is normal and when it is not
A few quiet days between phases can be normal. Repeated vague answers without a current status, next step, or reason for delay are not. That is when you need a firmer update.
What you can do to help keep the project on schedule
You cannot control the weather or the permit queue, but you can make the process smoother on your side.
Make decisions early and stick with them
Pick finishes, features, and deck materials early, then avoid changing them once the job is underway. That one habit saves more time than almost anything else.
Keep communication simple and consistent
Use one point of contact, respond quickly to approvals, and keep check-ins straightforward. You do not need to turn the project into a second job. You just need clear, timely communication.
What outcome to expect and what to do next
A realistic answer to how long to build a pool is several weeks to a few months, and in Gainesville, planning and permits often take as long as the physical construction. If you want a pool ready by a certain season or a specific backyard event, count backward from that swim date now, then start with your design, budget, and site details before anything else.