
Pool Builder Reviews: What Gainesville Homeowners Miss
July 9, 2026
Pool Maintenance in Gainesville: A Hot-Weather Care Guide
July 9, 2026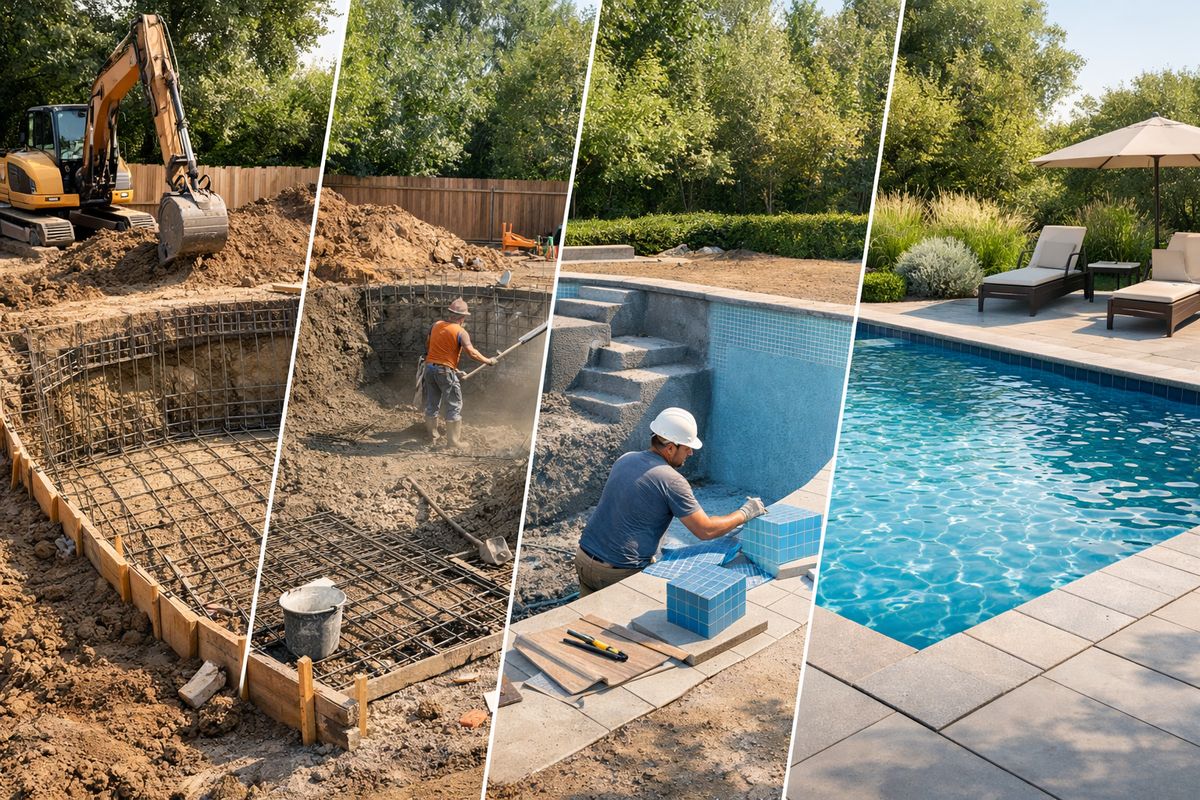
A pool construction timeline feels simple until your backyard turns into a work zone and every week starts blending together. If you want a clear picture of what happens, when it happens, and what can slow it down in Gainesville, this guide walks you through the full build from early planning to final startup.
What you’ll need before your pool project starts
Before anything gets dug, get four things straight: your budget, your wish list, your neighborhood rules, and your yard layout. That sounds obvious, but skipping any one of those is how a project starts out fun and turns stressful by the second meeting.
Your budget needs a little breathing room, not just enough for the base pool. Decking upgrades, drainage work, screen changes, or utility adjustments can show up fast. If you have not already looked into what tends to push the price up, do that early so your timeline is built around real choices, not wishful math.
You also need a rough sense of where the pool can actually go. In many Gainesville backyards, the best-looking spot is not always the easiest one to build in once setbacks, trees, drainage, and equipment access enter the picture.
Step 1: Map out your pool plan and backyard goals
This is the stage where “a pool would be nice” becomes a real project with dimensions, features, and tradeoffs.
- Walk your yard and picture how you want the space to feel on an ordinary Saturday.
- Mark rough zones for the pool, seating, traffic flow, and equipment.
- Write down what matters most before looking at upgrades.
Decide how you’ll use the pool
Start with use, not shape. If your goal is laps, a long clean swim lane matters more than a dramatic curve. If your weekends look more like kids splashing while adults sit in shallow water, a tanning ledge, broad steps, and a generous shallow end make more sense.
- Pick the main use: exercise, play, entertaining, or relaxing.
- Match features to that use.
- Drop anything that looks good on paper but does not fit your routine.
A spa sounds great, for example, but if you really want open swim space in a compact yard, that square footage may be better spent in the pool itself.
Check your yard conditions in Gainesville
Yard conditions shape the timeline more than most people expect. Gainesville lots can bring drainage issues, mature trees, fence access problems, and wet soil after heavy rain. One afternoon downpour can leave a dig site looking like a muddy pond.
- Check access points for machinery.
- Note low spots where water sits after storms.
- Identify trees, roots, and overhead lines.
- Confirm underground utilities are marked.
Set your must-haves vs. nice-to-haves
This step saves time later.
- Make one list of must-haves.
- Make a second list of upgrades you could skip or add later.
- Rank the extras by importance.
That separation helps when pricing comes back higher than expected, which happens often enough that it should be assumed, not treated like a surprise.
Step 2: Finalize design, pricing, and the construction agreement
Now your ideas turn into drawings, materials, and a defined scope.
- Review the proposed design carefully.
- Compare selections with the quoted price.
- Approve the contract only after the details make sense.
Review the pool design in detail
Paper changes are easy. Field changes are not.
- Check pool size, depth, and orientation.
- Review steps, benches, ledges, and spa placement.
- Look at decking width and traffic paths.
- Confirm where equipment will sit.
Pay attention to little things, because little things become permanent. A step on the wrong side of the pool can change how the whole yard functions.
Confirm pricing and allowances
Not every quote is truly fixed. Some items are allowances, meaning a placeholder amount is included until you choose the actual material.
- Ask what is fully included.
- Identify every allowance in writing.
- Check what triggers a change order.
- Review payment timing.
The catch is that one small selection swap can stretch the schedule like one quick errand turning into a whole lost afternoon.
Sign the contract and get on the schedule
Once paperwork is signed, your project moves from “planned” to “scheduled.”
- Confirm the expected construction window.
- Ask what has to happen before digging starts.
- Save the signed agreement and selections together.
If you are still comparing companies, spend time checking the hiring basics that matter most before locking anything in.
Step 3: Handle permits, approvals, and pre-build paperwork
This phase often feels slow because not much is happening in your yard yet. It still matters a lot.
- Submit required plans and applications.
- Handle neighborhood approvals.
- Wait for official green lights before scheduling field work.
Submit permit applications
Pool projects usually require more than one approval.
- File permits for the pool and related work.
- Include fencing, electrical, and site-specific items if required.
- Confirm submitted plans match your signed design.
Any mismatch here can cause a reset, and that can add days or weeks.
Clear HOA or neighborhood requirements
If your neighborhood has an HOA, handle that early.
- Review setback and design rules.
- Submit forms, drawings, and material details.
- Wait for written approval before assuming you are clear.
Wait for approvals and scheduling
Here’s the thing: no crew can legally move ahead just because you are ready.
- Track permit status.
- Ask for the expected release date.
- Confirm where your project stands in the scheduling queue.
If you want a broader view of how the full build usually unfolds, this waiting phase is one of the biggest reasons timelines vary.
Step 4: Prepare the site and mark the layout
This is the first moment the project becomes visible in your yard.
- Mark the layout.
- Create access for equipment.
- Protect the surrounding space before heavy work begins.
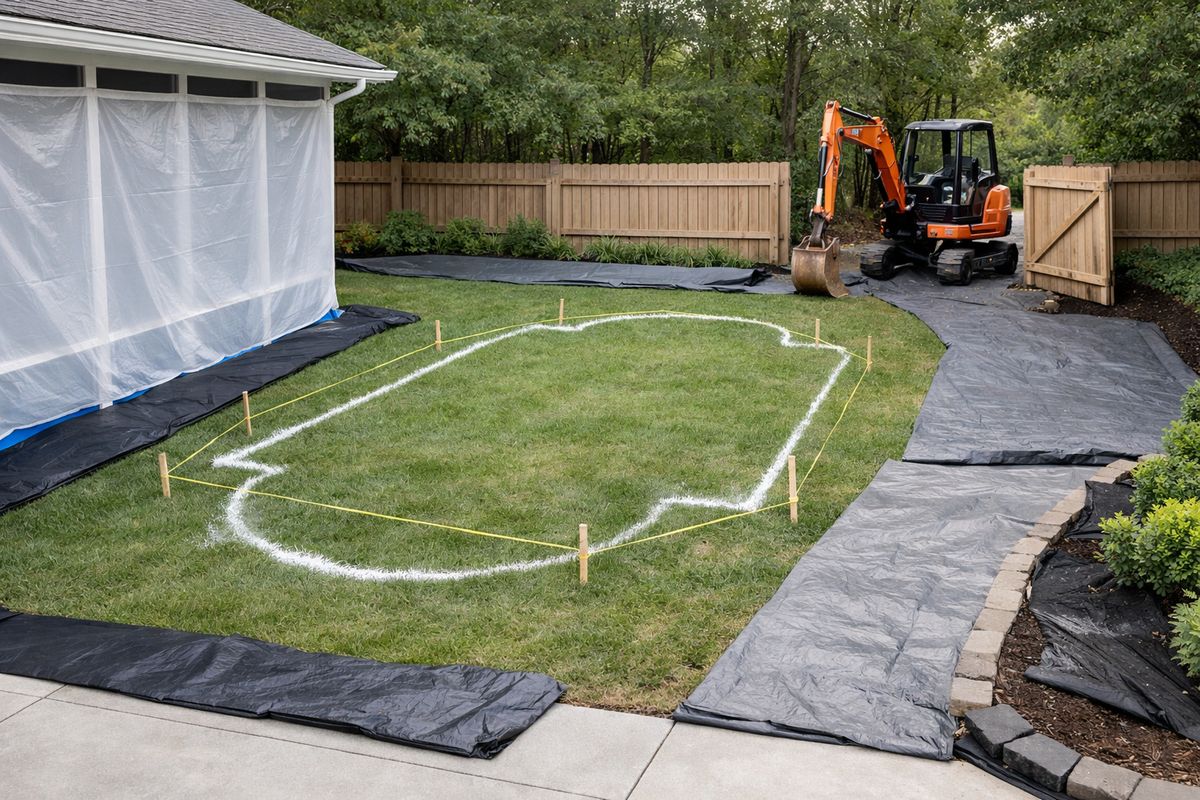
Mark the pool shape and utility lines
Seeing the outline on the ground is useful because scale feels different in person.
- Walk the staked layout.
- Check distances from the house, fence, and patio.
- Confirm utility markings are visible.
Create access for equipment
Excavators and material deliveries need room.
- Open gates or remove sections if needed.
- Clear staging areas.
- Remove sod or obstacles in access paths.
In tighter Gainesville neighborhoods, this can be one of the trickier parts of the job.
Protect nearby areas
Construction gets messy fast.
- Cover or block off vulnerable areas.
- Protect screens, driveways, and planting beds.
- Confirm where spoil dirt and materials will sit.
Step 5: Excavate the pool
This is the dramatic phase. One day you have grass, the next day you have a giant hole.
- Dig the pool to plan.
- Haul off or stage excavated soil.
- Check the excavation before moving on.
Dig to the approved shape and depth
Excavation follows the approved design, but site conditions can change the pace.
- Dig to the planned outline and elevations.
- Watch for roots, buried debris, or unstable soil.
- Adjust carefully if conditions require it.
Inspect the hole and make adjustments
After digging, the shape needs a second look.
- Verify depth and wall positions.
- Check elevation against the yard and deck plan.
- Correct anything that is off before the shell is built.
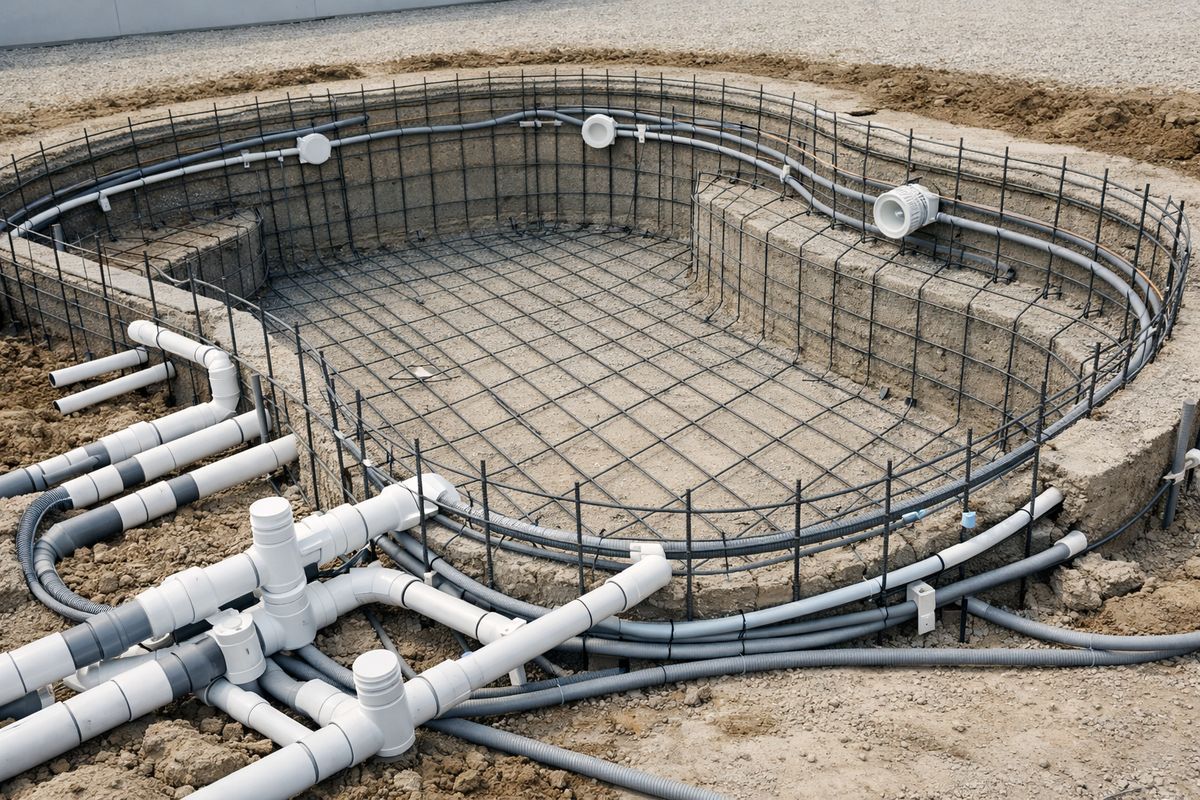
Step 6: Install the structural shell, plumbing, and electrical
This phase builds the bones and the hidden systems.
- Add steel reinforcement.
- Run plumbing.
- Install electrical components and safety bonding.
Add steel reinforcement
Rebar is the steel framework inside the shell.
- Place rebar to match the engineering plan.
- Secure spacing and coverage.
- Inspect before concrete is applied.
This steel is what helps the shell hold its shape over time.
Run plumbing lines
Plumbing goes in before the shell is closed up.
- Install skimmers, drains, returns, and feature lines.
- Connect equipment runs.
- Pressure test the system.
That pressure test matters because fixing a leak now is simple compared with fixing one after the shell is complete.
Install electrical and bonding
Bonding means connecting metal parts for safety.
- Run conduit for lights and equipment.
- Install bonding connections.
- Prepare equipment hookups for later startup.
Step 7: Apply gunite or shotcrete and allow curing time
Now the shell gets formed in concrete, and your pool finally looks like a pool.
- Spray the shell material into place.
- Shape the surface immediately.
- Allow proper curing before finish work continues.
Shape and smooth the shell
The shell is refined while the material is still workable.
- Form steps, benches, walls, and ledges.
- Smooth rough areas.
- Check that the final profile matches the design.
Let the shell cure properly
Curing is not dead time. It is part of the build.
- Follow the recommended curing period.
- Keep up with any required watering schedule.
- Do not rush the next phase.
A fast build is nice. A rushed shell is not.
Step 8: Add tile, coping, decking, and surface details
This is when the project shifts from structural to polished.
- Install the edge materials.
- Build the deck and drains.
- Add optional features if included.
Install tile and coping
The waterline tile and top edge do a lot of visual work.
- Set the tile line.
- Install coping around the perimeter.
- Check for clean alignment and consistent spacing.
Build the deck and surrounding hardscape
Decking often takes longer than expected, especially during wet weather.
- Prepare the base and drainage.
- Pour concrete or install pavers.
- Finish walkways and surrounding surfaces.
Gainesville summer storms can interrupt this part in a hurry, especially when the ground stays saturated.
Add optional features
Extras can stretch the schedule if they are added late.
- Install features like lighting, waterfalls, or a spa.
- Coordinate specialty trades such as screen or fire features.
- Confirm lead times before assuming a quick add-on.
If you are planning the whole backyard, it helps to think ahead about outdoor features that pair well with a pool instead of tacking them on after construction starts.
Step 9: Apply the interior finish and fill the pool
This is the exciting stretch. Your pool is almost ready.
- Apply the interior surface.
- Protect it during the early cure.
- Fill the pool in one continuous run.
Choose and apply the finish
Your finish affects appearance, texture, and price.
- Select plaster, quartz, pebble, or another finish.
- Apply it evenly across the shell.
- Follow the startup instructions tied to that finish type.
Fill the pool the right way
Filling sounds simple, but there is one rule that matters.
- Start the fill once the finish is ready.
- Keep the water running continuously.
- Stop only when the proper level is reached.
Stopping halfway can leave marks or surface problems.
Step 10: Start up the system and complete the final inspection
The build is not truly done until the system runs correctly and the final sign-off is complete.
- Start and test the equipment.
- Balance the water.
- Pass final inspection.
Test equipment and circulation
Everything needs to work together.
- Turn on pumps, filters, lights, heaters, and automation.
- Check circulation and water movement.
- Adjust settings for normal operation.
Balance the water and review care basics
Fresh pool water needs attention right away.
- Add startup chemicals.
- Brush the surface as directed.
- Learn the first few weeks of care.
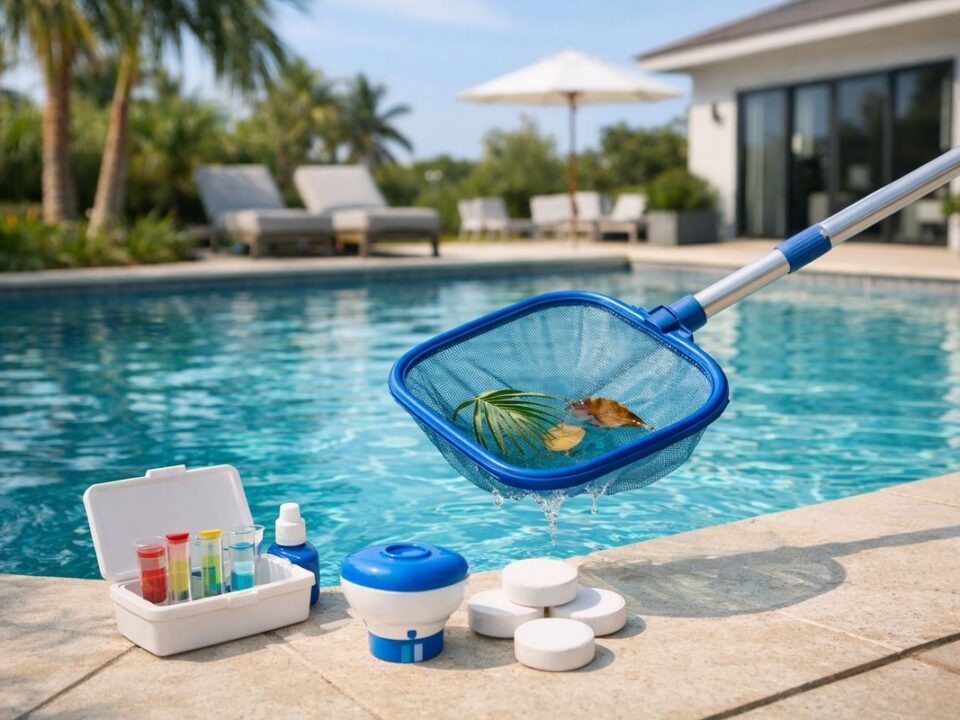
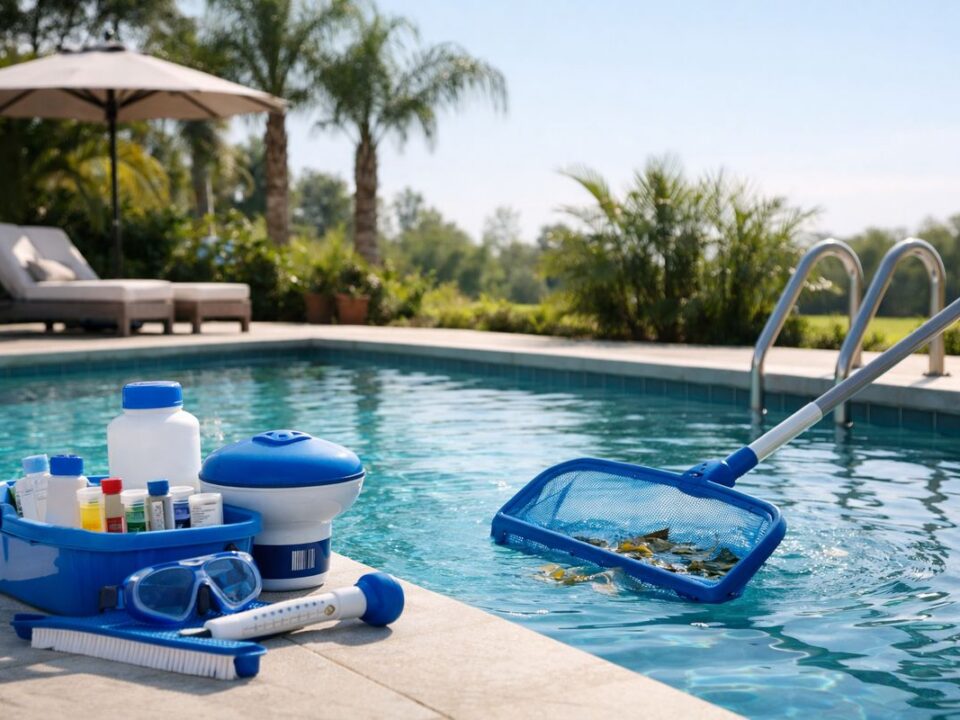
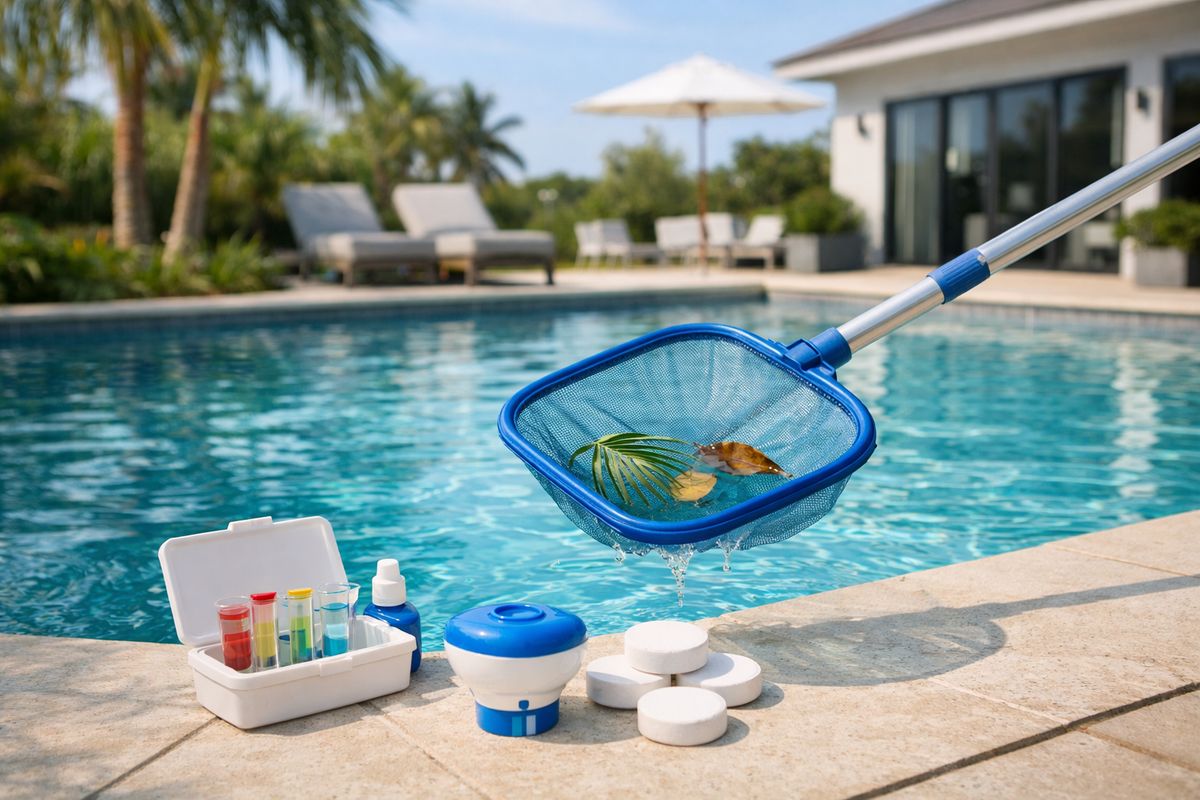
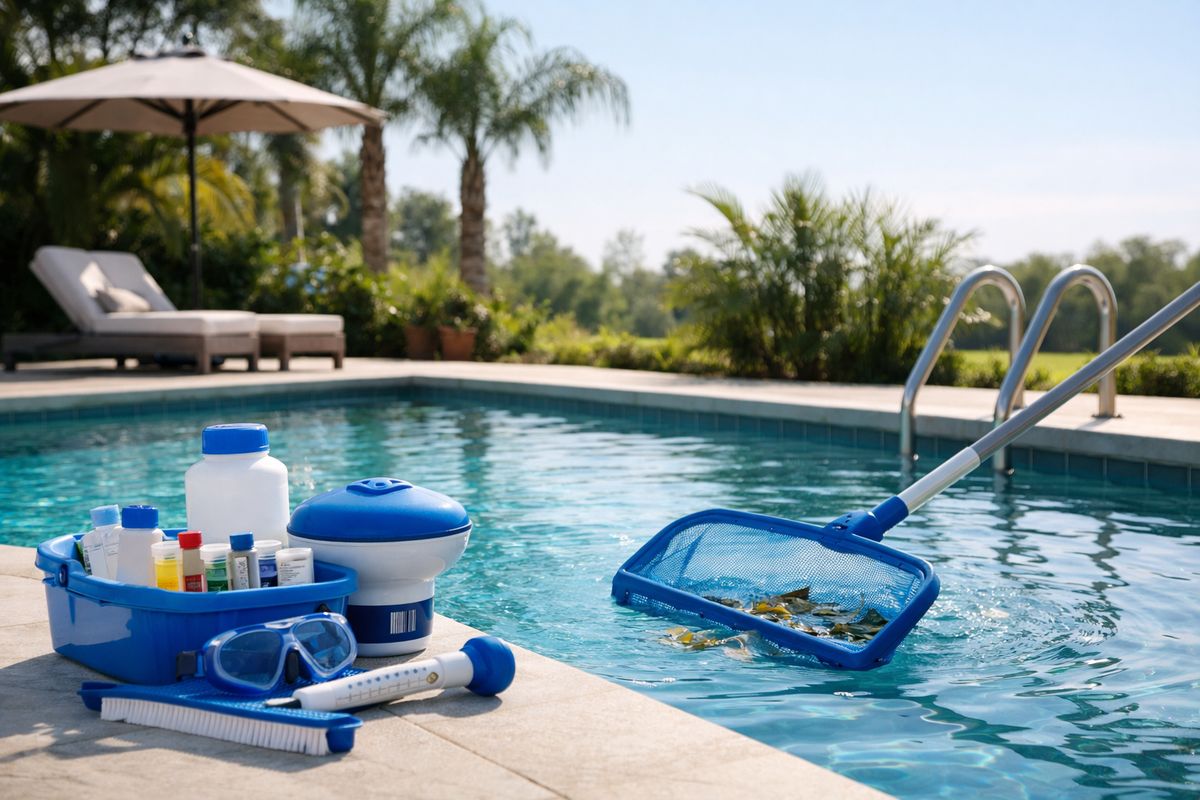
For Gainesville conditions, hot-weather water care habits make a real difference once the build wraps up.
Pass final inspection
This is the official finish line.
- Confirm all required work is complete.
- Schedule the final inspection.
- Keep the approval paperwork with your project records.
Common delays that can affect your pool construction timeline
Even a well-run project can hit delays. Weather is a big one in Gainesville, but it is not the only one.
Weather and rain delays in Gainesville
Afternoon storms, wet soil, and storm season can slow excavation, decking, and finish work. Muddy access paths can stop equipment. Saturated ground can delay concrete and hardscape work. This is normal, even if it is frustrating.
Material availability and subcontractor scheduling
Tile, coping, specialty pumps, screen work, and lighting do not always arrive exactly when expected. One late delivery can bump the next trade, and that small shift can ripple through the rest of the calendar.
Last-minute design changes
A late change almost always adds time. Swapping tile, moving a light, or adding a water feature sounds minor, but every change touches scheduling, materials, or approvals.
Troubleshooting: What to do if your project feels stuck
A quiet week does not always mean a bad project. Sometimes it means curing, inspections, or a subcontractor window. Sometimes it means communication slipped.
Ask for the current phase and the next milestone
Keep it simple.
- Ask what phase the project is in right now.
- Ask what must happen before the next phase starts.
- Ask for the next visible milestone.
Confirm what is causing the delay
Not every pause is a problem.
- Find out if the delay is weather, permit-related, material-related, or schedule-related.
- Ask what is already resolved and what is still pending.
- Confirm the updated expected timing.
Keep records of approvals and changes
A saved email can fix a lot of confusion.
- Keep contracts, selections, approvals, and change orders together.
- Save notes from calls and walkthroughs.
- Compare any new request against signed documents.
What your finished timeline usually looks like
Most custom inground pools take several weeks to a few months from final design to swim-ready startup. The biggest waits usually happen in permitting, weather delays, curing time, and trade scheduling. That is the normal rhythm of the job, not a sign that something has gone wrong.
A typical range for most inground pool projects
In many cases, a straightforward project may move faster, while a custom build with added hardscape, a screen enclosure, or weather interruptions can take longer. A simple calendar promise is less useful than understanding where the wait points live.
What happens after the pool is complete
Your first few weeks as an owner are about brushing, balancing water, and learning your equipment. That routine gets easier quickly, especially once you understand how Florida heat changes water behavior.
Next step: Get your yard and paperwork ready now
Try one thing today: walk your backyard with a notepad and mark your must-haves, access points, drainage trouble spots, and any HOA details you still need. That small bit of prep makes the whole pool construction timeline smoother, and it gives you a much better shot at a build that feels organized from day one.